|

This tutorial was translated with the permission of NaiseM.
With care and gratitude to the author, I am happy to translate and
share this beautiful tutorial.
*Original Tutorial*
MATERIALS

Main Tube by NaiseM
Deco by NaiseM
Selection
Title
Image
PLUGINS
Graphics Plus – Cross Shadow
AP [Lines] – Lines SilverLining
Tutorial created in PSP 2022.

1_. Open the image in JPG
The author used the image below:
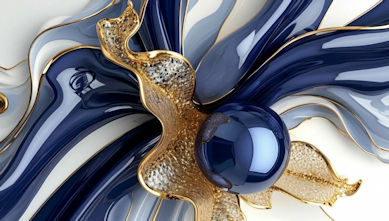
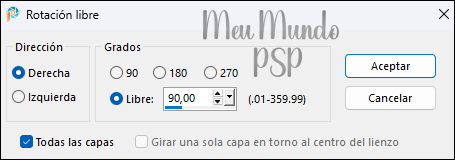
Image → Free Rotate,
using the settings below:
2_. Adjust → Blur → Radial Blur, using the settings below:
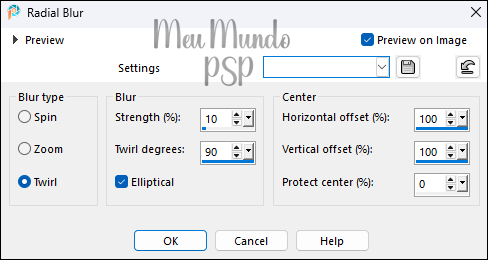
3_. Edit → Repeat → Radial Blur
4_. Layers → New Raster Layer
Selections → Load/Save Selection → Load Selection From Disk
Load selection → ano_2026
Fill with the gold gradient, using the settings below:
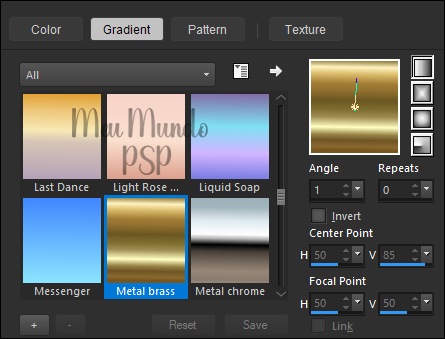
Note: In my PSP version, the gradient is Metal Brass.
Selections → Select None
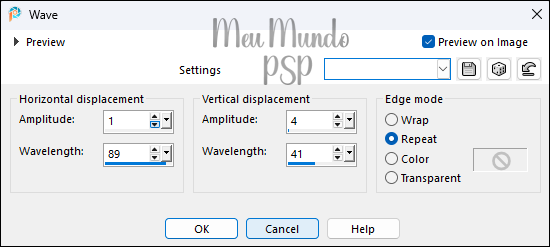
5_. Effects → Distortion Effects → Wave, using the settings below:
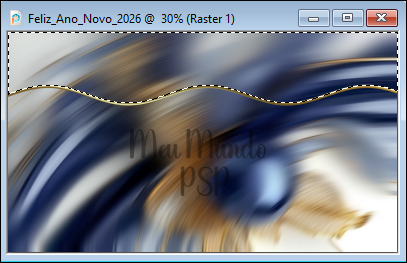
6_. With the Magic Wand Tool: Tolerance and Feather: 0
Select the area as shown in the screenshot:
Layers → New Raster Layer
Selections → Modify → Expand → 2 px
Fill with color #0f203f
Selections → Select None
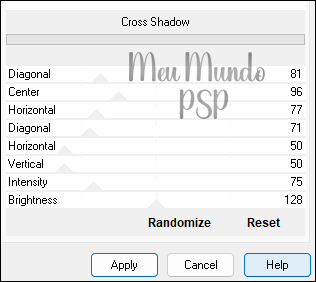
7_. Plugins → Unlimited 2.0 → Graphics Plus → Cross Shadow, using
the settings below:
Layers → Arrange → Move Down
Select the top layer:
Layers → Merge → Merge Down
8_. Layers → Duplicate
9_. Image → Mirror → Mirror Vertical
Layers → Merge → Merge Down
10_. Layers → Duplicate
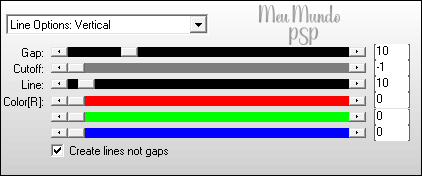
11_. Plugins → AP [Lines] → Lines → SilverLining, using the settings
below:
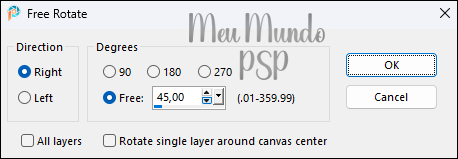
12_. Image → Free Rotate, using the settings below:
Set this layer opacity to 40%
13_. Effects → Distortion Effects → Wave, using the same previous
settings:
14_. Image → Add Borders (Symmetric checked)
10 px – color: #ffffff (White)
45 px – color: #838b9b
10 px – color: #ffffff (White)
15_. Selections → Select All
16_. Layers → New Raster Layer
Fill with color #ffffff (White)
17_. Open deco_exclusivo-natal
Edit → Copy
18_. Edit → Paste Into Selection
19_. Set this layer opacity to 35%
20_. Effects → Edge Effects → Enhance More
Selections → Select None
21_. Open champanhe_deco
Edit → Copy → Paste as New Layer
Using the Pick Tool: X: 480,00 - Y: 112,00
Press the M key to
deactivate the Pick Tool.
22_. Open the title
Edit → Copy → Paste as
New Layer
Using the Pick Tool: X: 596,00 - Y: 682,00
Press the M key to
deactivate the Pick Tool.
23_. Open title_2026
Edit → Copy → Paste as New Layer
Using the Pick Tool: X: 1276,00 - Y: 217,00
Press the M key to
deactivate the Pick Tool.
24_. Open the tube_exclusivo_ano-novo
Edit → Copy → Paste as New Layer
On the left side and adjust it to your taste
25_. Image → Add Borders
4 px – color: #3a4e67
4 px – color: #ffffff
(White)
26_. Sign your work
27_. If using my image
Resize → 70%
28_. Export as JPEG.
Send your version
Here.
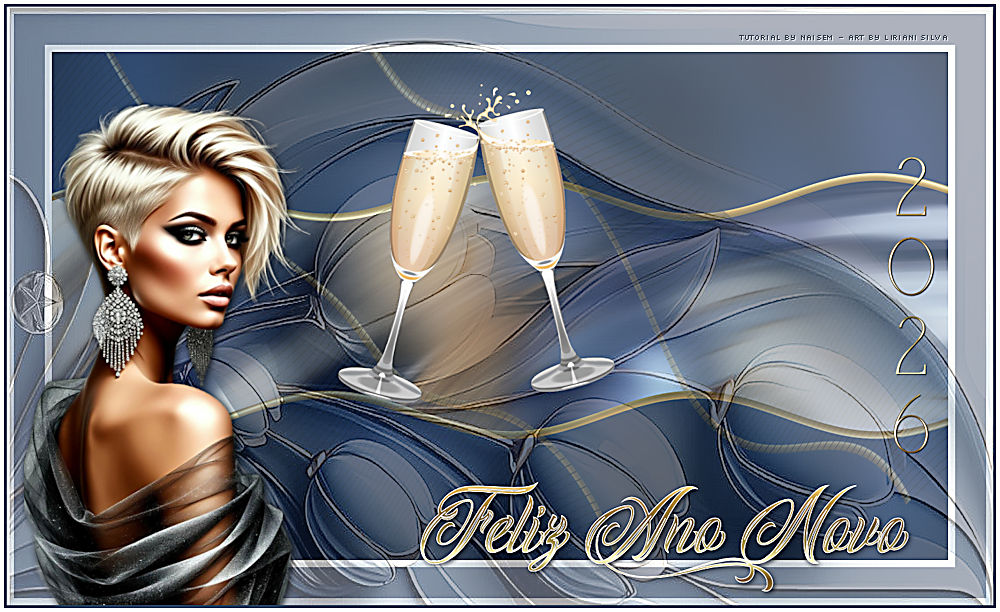
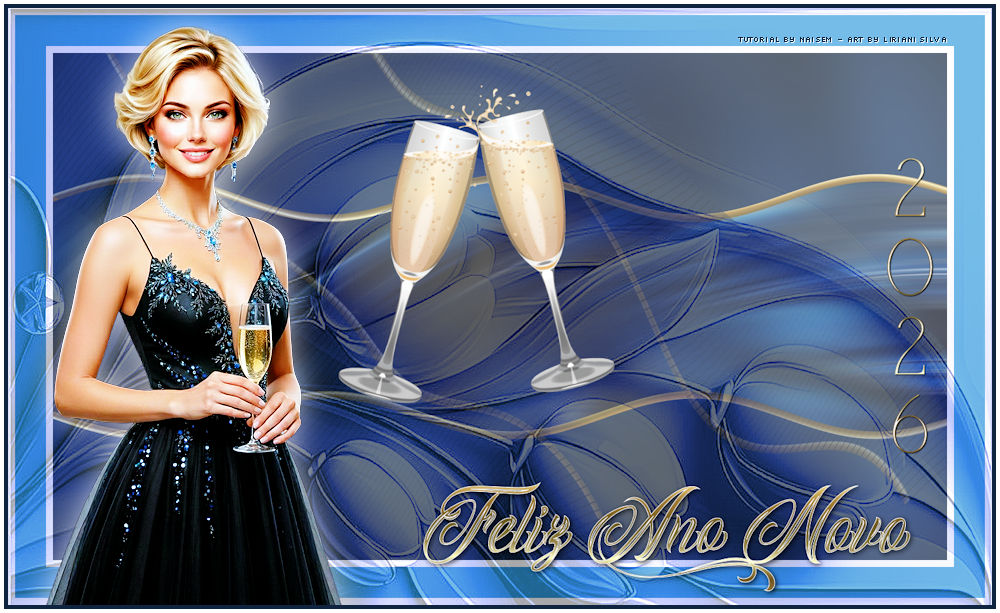
My version.
Credits
Character Tube: Liriani Silva
Decorative Tubes: NaiseM
Translation: Liriani Silva
21/12/2025

Copyright© - 2020/2025 - Web Design - Liriani Silva®
|