|

This tutorial was translated with the permission of NaiseM.
With care and gratitude to the author, I am happy to translate and
share this beautiful tutorial.
*Original Tutorial*

MATERIALS

Tubes by NaiseM
Selection
Title
Mask by Narah
PLUGINS
Eye Candy - Impact Glass
MuR'as Filter Meister - Copies
AAA Frames - Foto Frame
Tutorial created in PSP 2022.

1_. Open a new image
1000 x 550 pixels
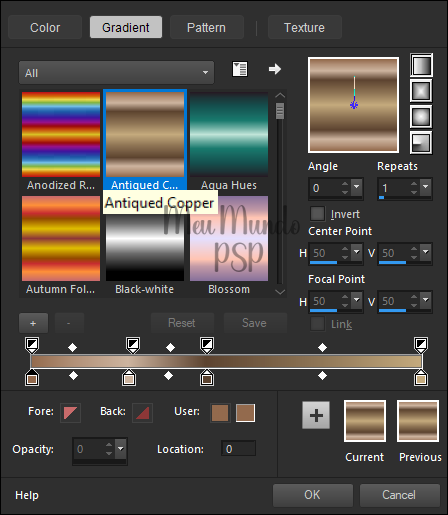
2_. Flood fill with Linear Gradient → Antiqued Copper
3_. Layers → New Raster Layer
4_. Selections → Load/Save Selection → Load Selection From
Disk
Select the selection "fluttering"
Flood fill with color #c4a892
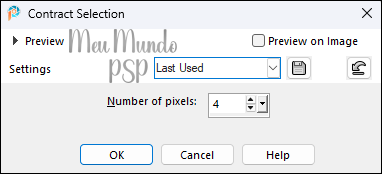
5_. Selections → Modify → Contract
6_. Edit → Cut
Selections → Select None
7_. Duplicate the layer
Image → Resize → 70% (uncheck Resize all layers)
Layers → Merge Down
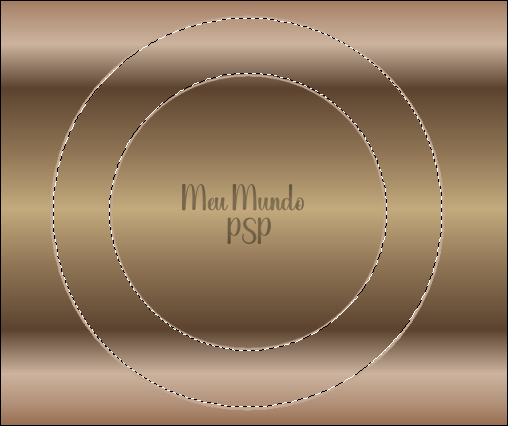
8_. Magic Wand Tool (Tolerance 0 / Feather 0)
Select as shown in the image below
9_. Activate the Raster 1 layer
Selections → Promote Selection to Layer
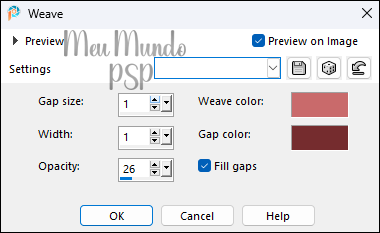
10_. Effects → Texture Effects → Weave
Use colors #c96b6b and #752d2e
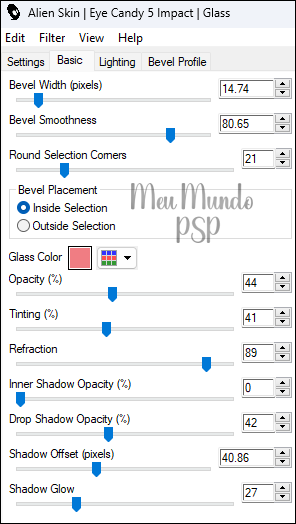
11_. Plugins → Eye Candy 5: Impact → Glass
Select the preset "fluttering"
In the Basic tab, set a color of your choice

Selections → Select None
12_. Activate the Raster 2 layer
Layers → Merge Down
13_. Activate the Raster 1 layer
14_. Effects → Image Effects → Page Curl → Corner: 1
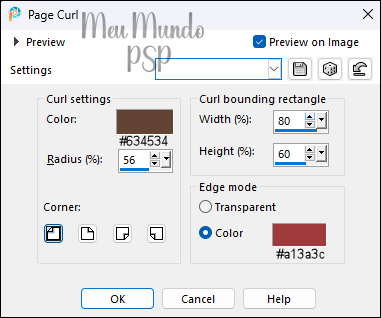
Repeat with Corner: 3
15_. Effects → Image Effects → Page Curl → Corner: 2
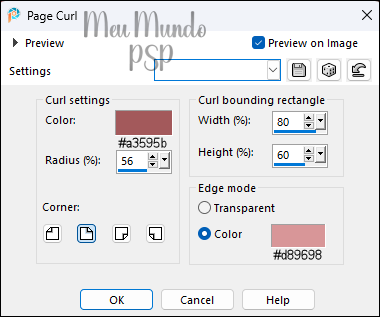
Repeat with Corner: 4
Effects → Edge Effects → Enhance More
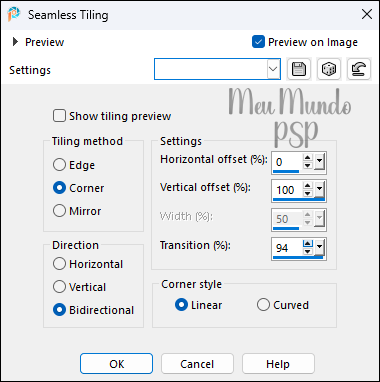
16_. Effects → Image Effects → Seamless Tiling → Default
17_. Effects → Image
Effects → Seamless Tiling → Side by Side
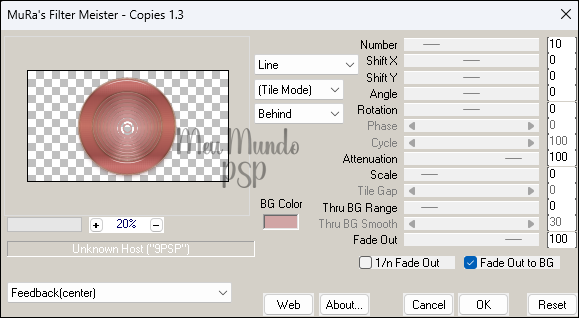
18_. Activate the Promoted Selection layer
Plugins → MuRa's Filter Meister → Copies
19_. Open the tube misted_flor
Edit → Cop
Edit → Paste As New Layer.
Image → Resize → 70% (uncheck Resize all layers)
20_. Effects → Image Effects → Seamless Tiling →
Default
21_. Effects → Geometric Effects → Circle → Transparent
22_. Effects → Image Effects → Seamless Tiling →
Default
23_. Effects → Image Effects → Seamless Tiling → Side by Side
24_. Image → Add Borders → check Symmetric
1 px → color #5d3a37
35 px → color #8d3739
Magic Wand Tool (Tolerance 0 / Feather 0): select the 35 px border
25_. Effects → Texture Effects → Weave → colors #c96b6b and
#752d2e
Effects → Edge Effects → Enhance More
Selections → Select None
26_. Layers → New Raster Layer
Flood fill with color #c78281
27_. Layers → New Mask Layer → From Image
Select mask Narah1335

Layers → Merge Group
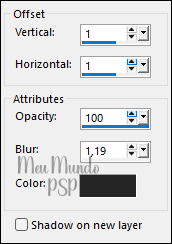
Effects → 3D Effects → Drop Shadow 1 / 1 / 100 / 1.19
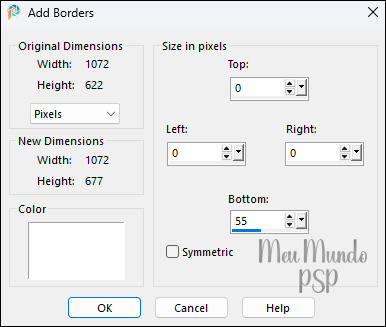
28_. Image → Add Borders → color #ffffff (white)
29_. Image → Add Borders → check Symmetric → 10 px → color #ffffff (white)
30_. Plugins → AAA Frames → Foto Frame
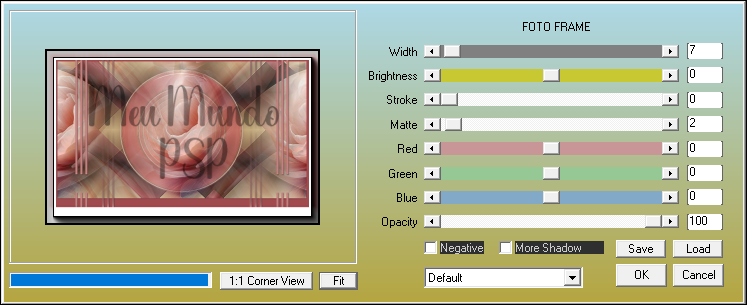
31_. Image → Add Borders → check Symmetric → 20 px → color #ffffff (white)
32_. Plugins → AAA Frames → Foto Frame, using the same
settings as before
33_. Open the tube_floral
Edit → Copy
Edit → Paste As New Layer
Pick Tool → X: 828.00 and Y: 188.00
Press M to deactivate the Pick Tool.
34_. Open the tube_exclusivo_fluttering
Edit → Copy
Edit → Paste As New Layer
Pick Tool → X: 62.00 and Y: 36.00
Press M to deactivate the Pick Tool.
35_. Open the title (titulo)
Edit → Copy
Edit → Paste As New Layer
Pick Tool → X: 402.00 and Y: 588.00
Press M to deactivate the Pick Tool.
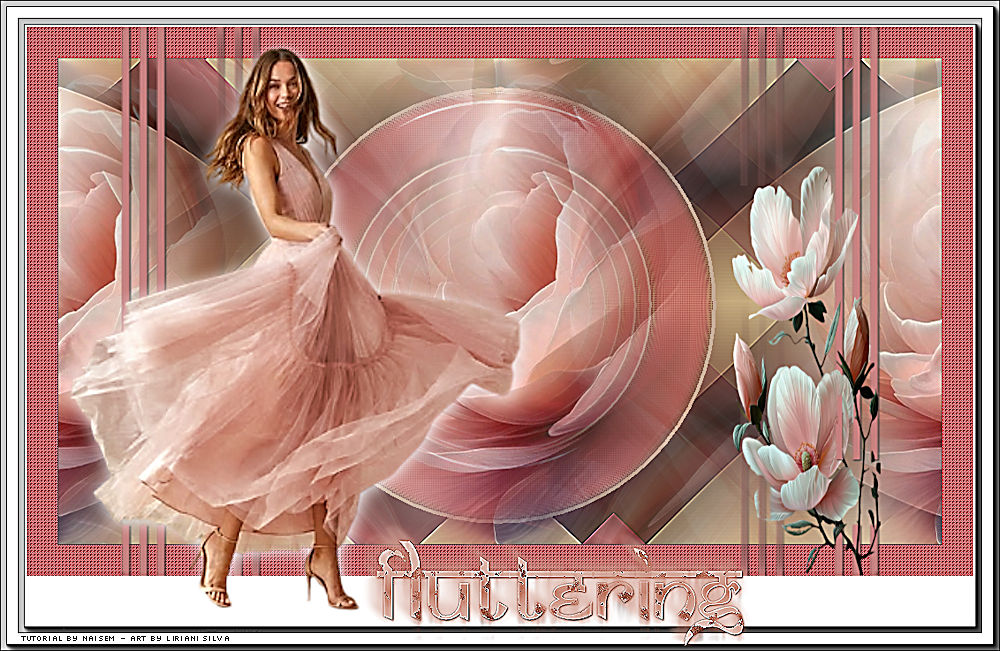
36_. Sign your work.
37_. File - Export as JPEG Optimizer.
Send your version
Here.
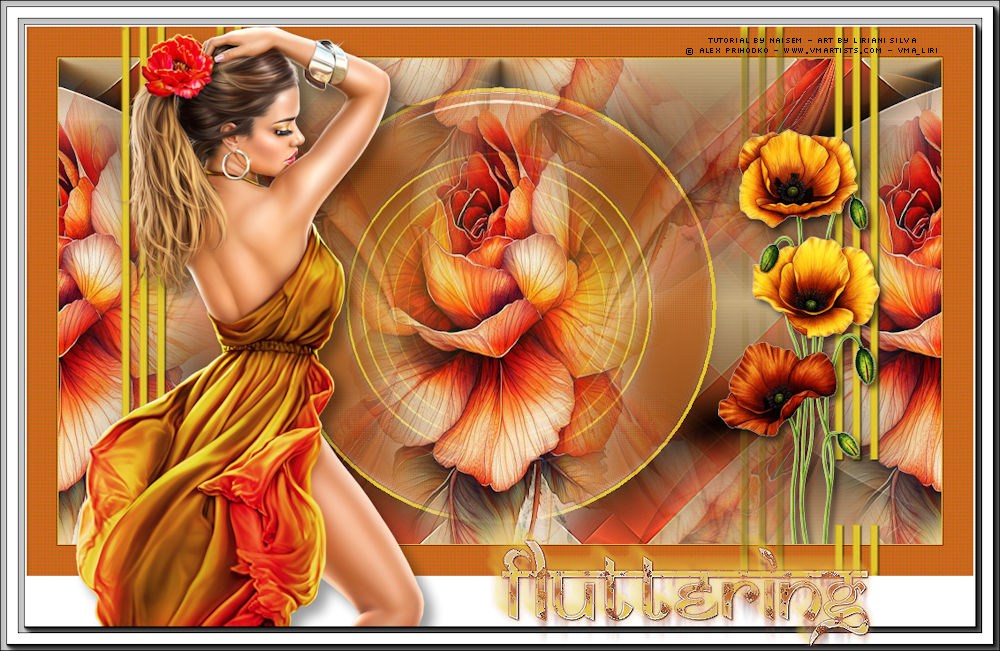
My version.
Credits
Tube Character:
© Alex Prihodko
Tube Misted Flower: Liriani Silva
Tube Flower: Liriani Silva
Mask:
Narah
Translation: Liriani Silva
Other materials provided by the author.
05/02/2026

Copyright© - 2020/2025 - Web Design - Liriani Silva®
|